
dlib 모델 불러오기
# Conda 설치
> conda install -c conda-forge dlib

# PIP 설치
> pip install dlib
dlib의 get_frontal_face_detector는 HOG(Histogram of Oriented Gradient) + SVM을 활용해 사람의 얼굴을 인식한다.
import dlib

detector = dlib.get_frontal_face_detector()
faces = detector(이미지)
위와 같이 함수를 이용해 detector객체를 가져오고 사람 얼굴이 포함된 이미지를 입력하면 관련 정보를 반환한다.
얼굴 인식
import cv2
import dlib

detector = dlib.get_frontal_face_detector()
img = cv2.imread("face.jpg")

# 얼굴 검출
faces = detector(img)

for face in faces:
    left = face.left()
    right = face.right()
    top = face.top()
    bottom = face.bottom()

    # 위치 정보를 활용해 사각형 그리기
    img = cv2.rectangle(
        img, (left, top), (right, bottom), (0, 0, 255), 3
    )
    cv2.imwrite("face-rect.jpg", img)

위 사진에서 보는 것과 같이 인식된 얼굴의 top, bottom, left, right의 좌표를 가져올 수 있다.
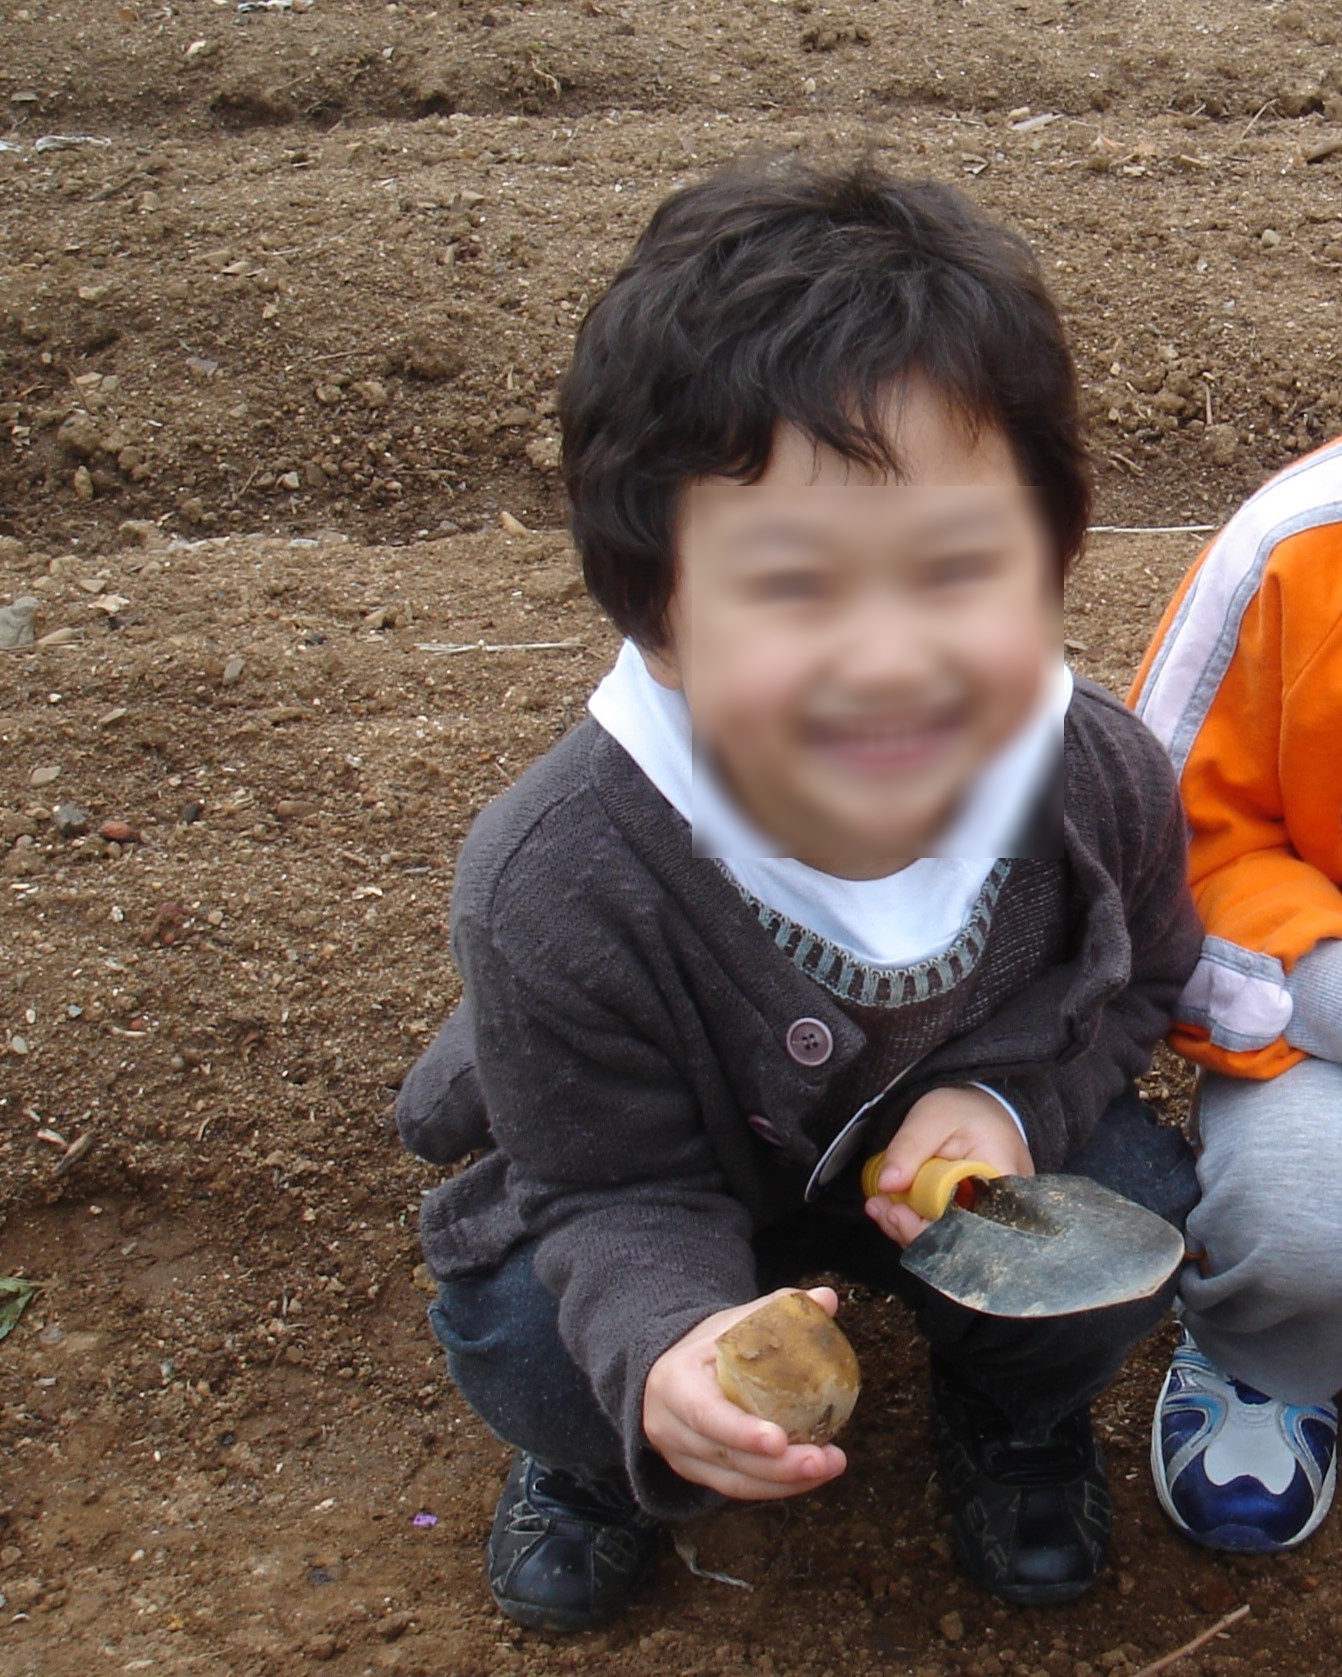
예제: 얼굴 블러 처리
이를 응용하면 실시간 얼굴 블러 처리도 가능하다.
import cv2
import dlib

detector = dlib.get_frontal_face_detector()

cap = cv2.VideoCapture(0)

while cap.isOpened():
    ret, frame = cap.read()

    if ret:
        frame = cv2.flip(frame, 1)
        gray = cv2.cvtColor(frame, cv2.COLOR_BGR2GRAY)

        faces = detector(gray)

        for face in faces:
            left = face.left()
            right = face.right()
            top = face.top()
            bottom = face.bottom()

            blurred = cv2.blur(frame[top:bottom, left:right], (30, 30))
            frame[top:bottom, left:right] = blurred

        cv2.imshow("frame", frame)

        if cv2.waitKey(1) & 0xFF == ord("q"):
            break

    else:
        break

cv2.destroyAllWindows()
cap.release()
얼굴의 위치를 찾는데 색상 정보는 필요하지 않기 때문에 인식된 프레임을 흑백 이미지로 변환 후 detector에 전달한다. 얼굴이 인식되면 얼굴을 cv2.blur()한 후 화면에 보여준다.
카메라를 이용한 실시간 처리에 관한 정보는 해당 글을 참고.
예시:
장단점
해당 detector는 CPU 환경에서도 잘 작동한다는 장점이 있다.
하지만 "frontal_face_detector"라는 이름처럼 정면을 보지 않는 얼굴에 대한 인식 성능은 상대적으로 떨어진다. 그리고 얼굴이 작거나 이미지(카메라)의 해상도가 낮은 경우 잘 인식하지 못한다.